Home
About
Music
Shows
Photos
Store
Contact
Home
About
Music
Shows
Photos
Store
Contact
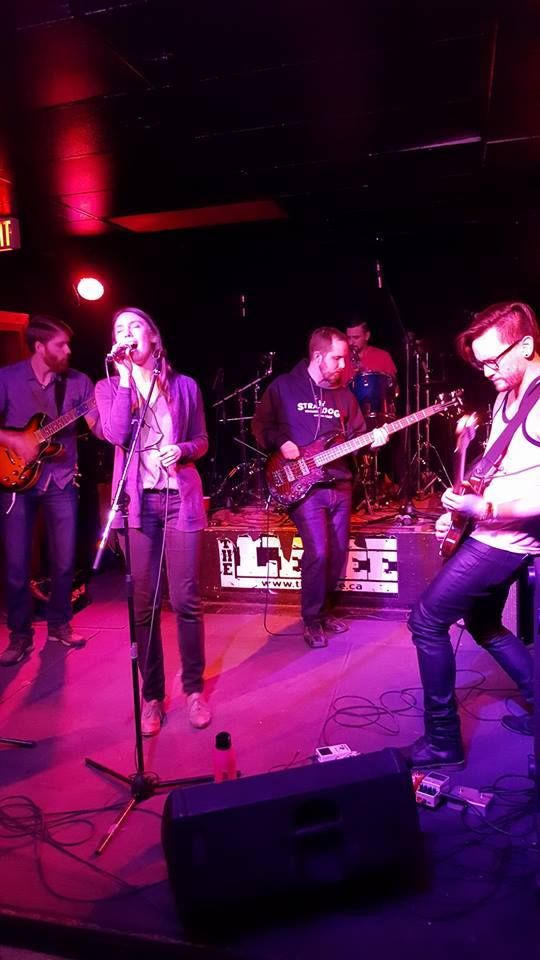
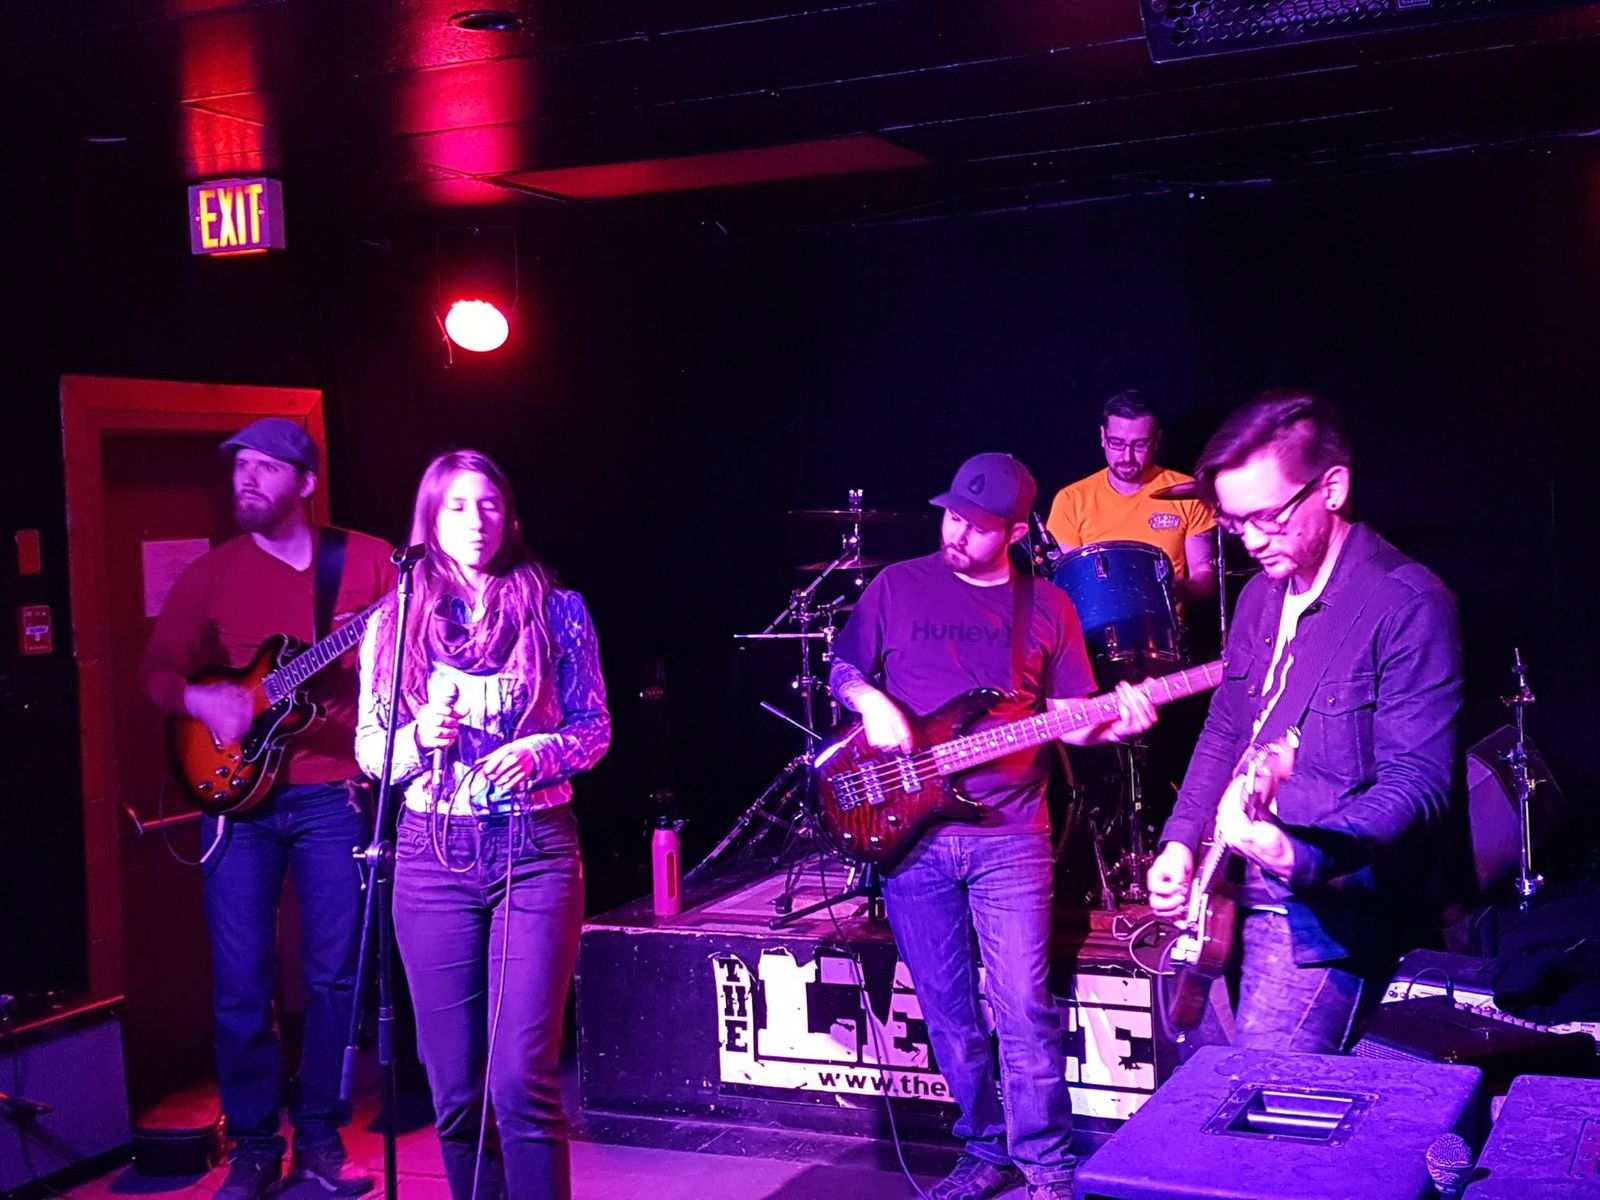
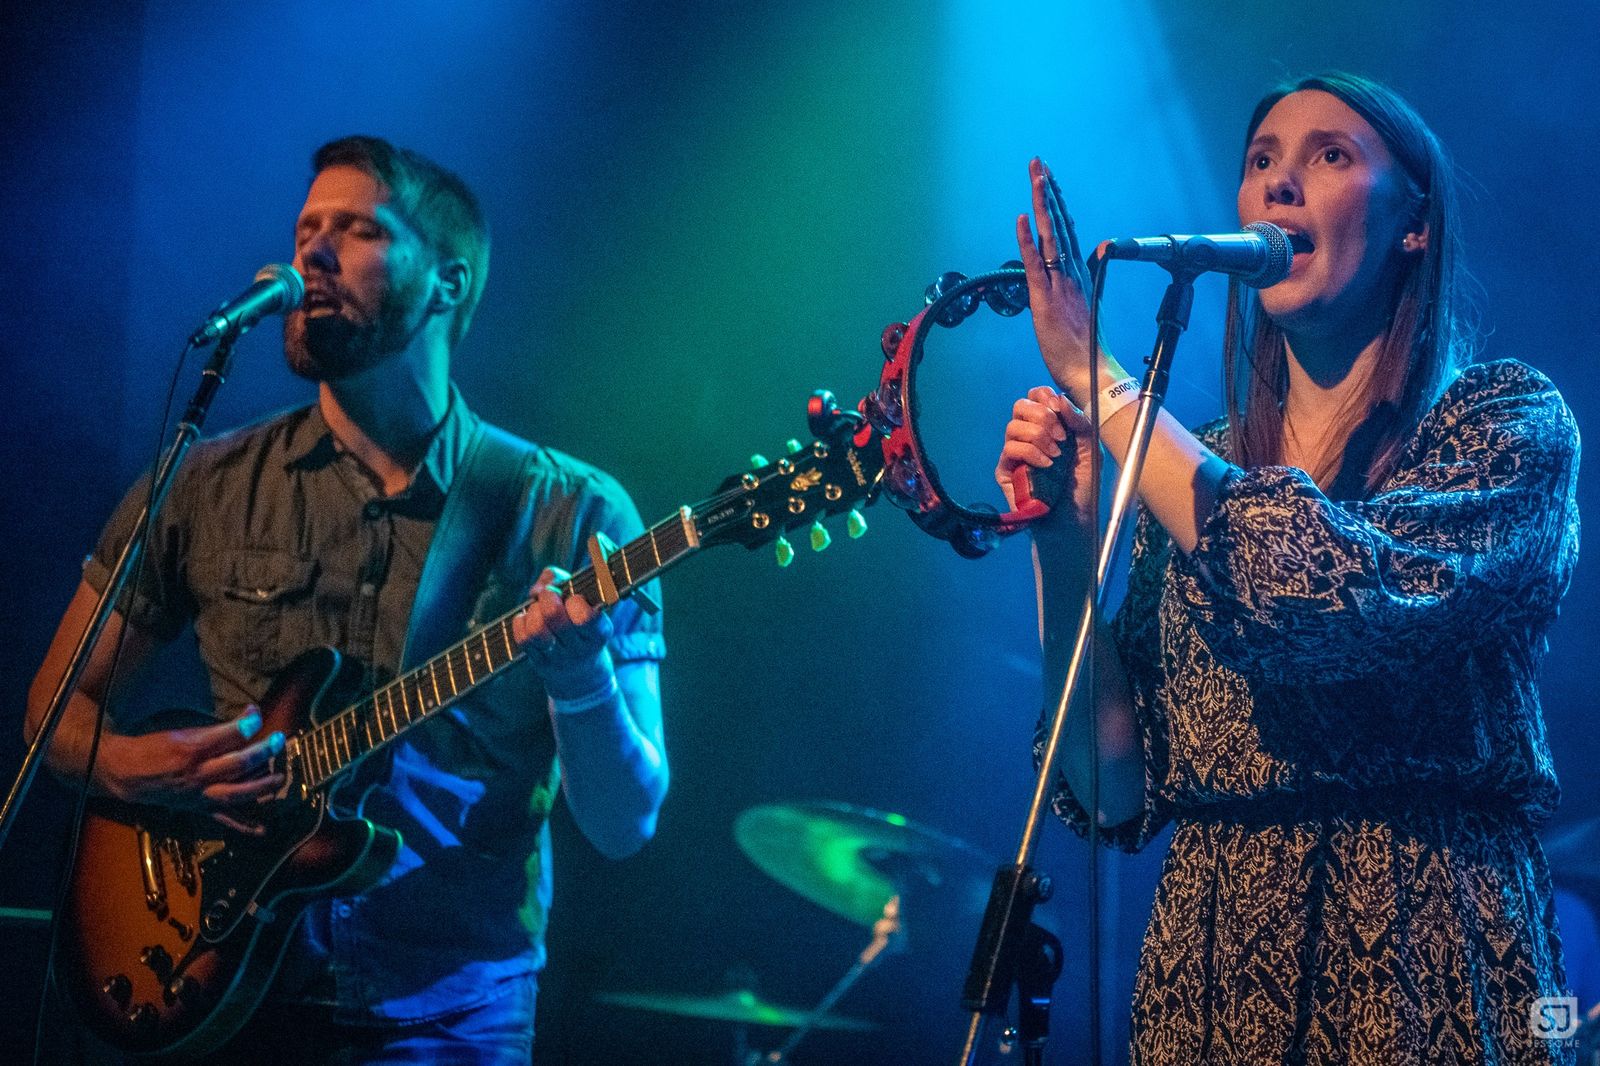
Photo Credit: Sean Jessome Photography
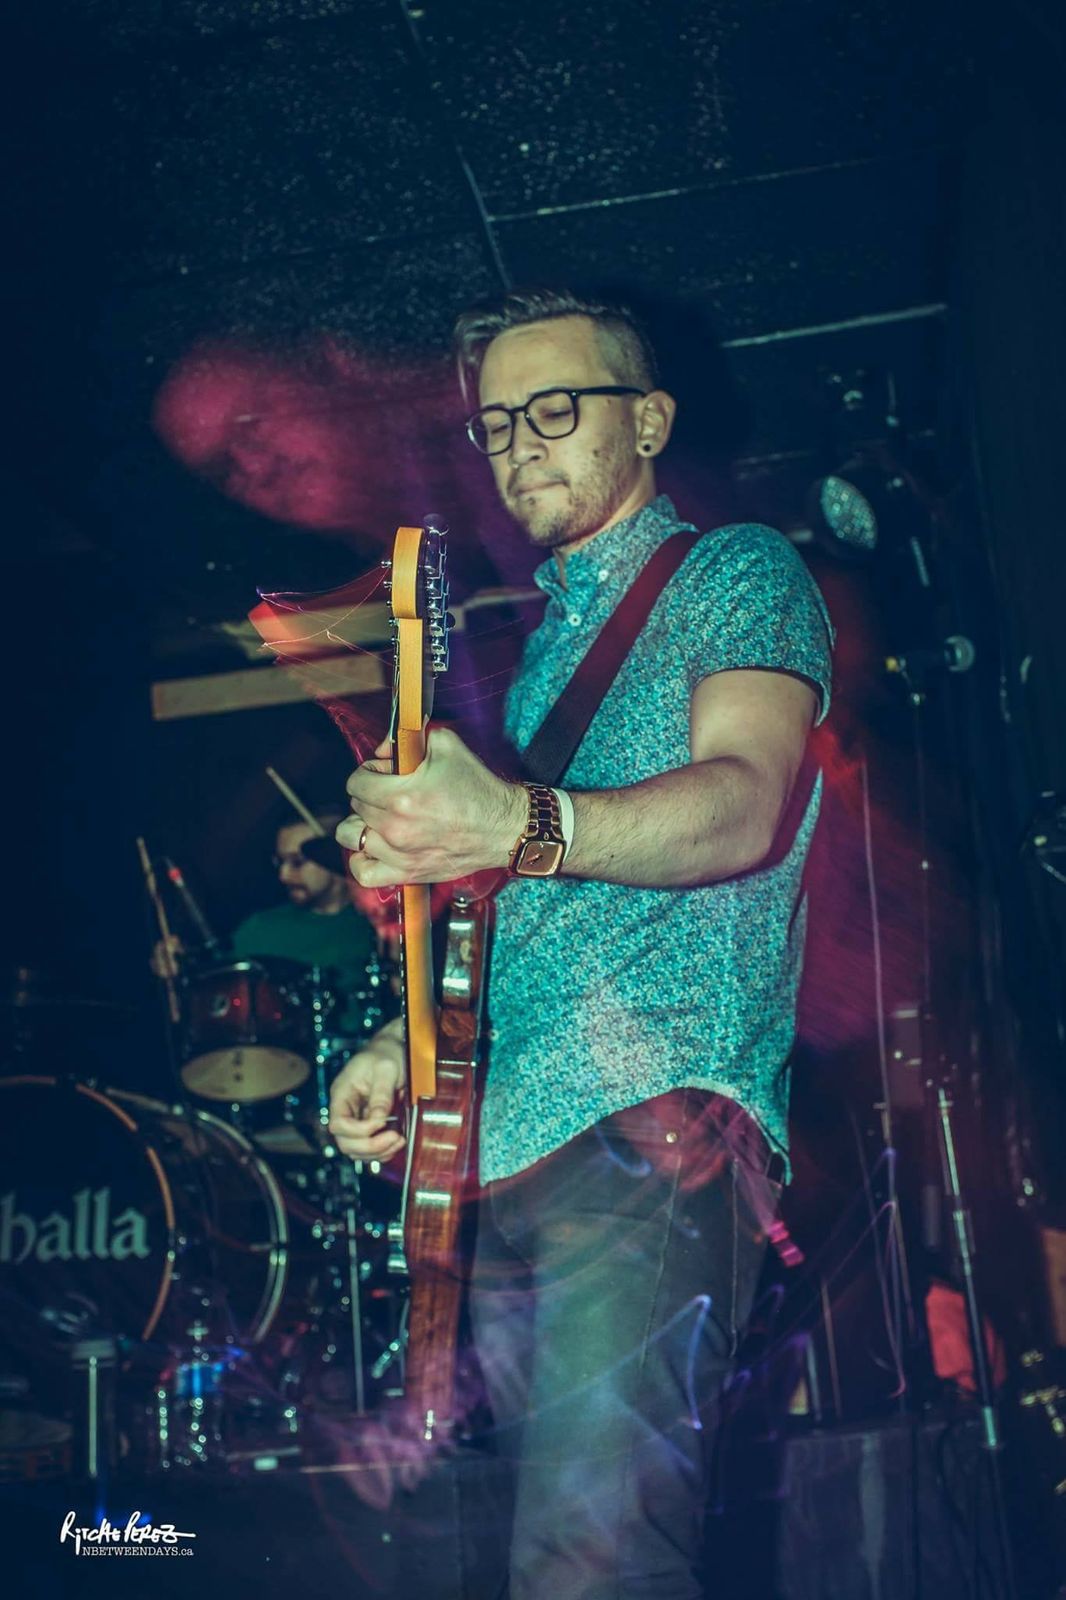
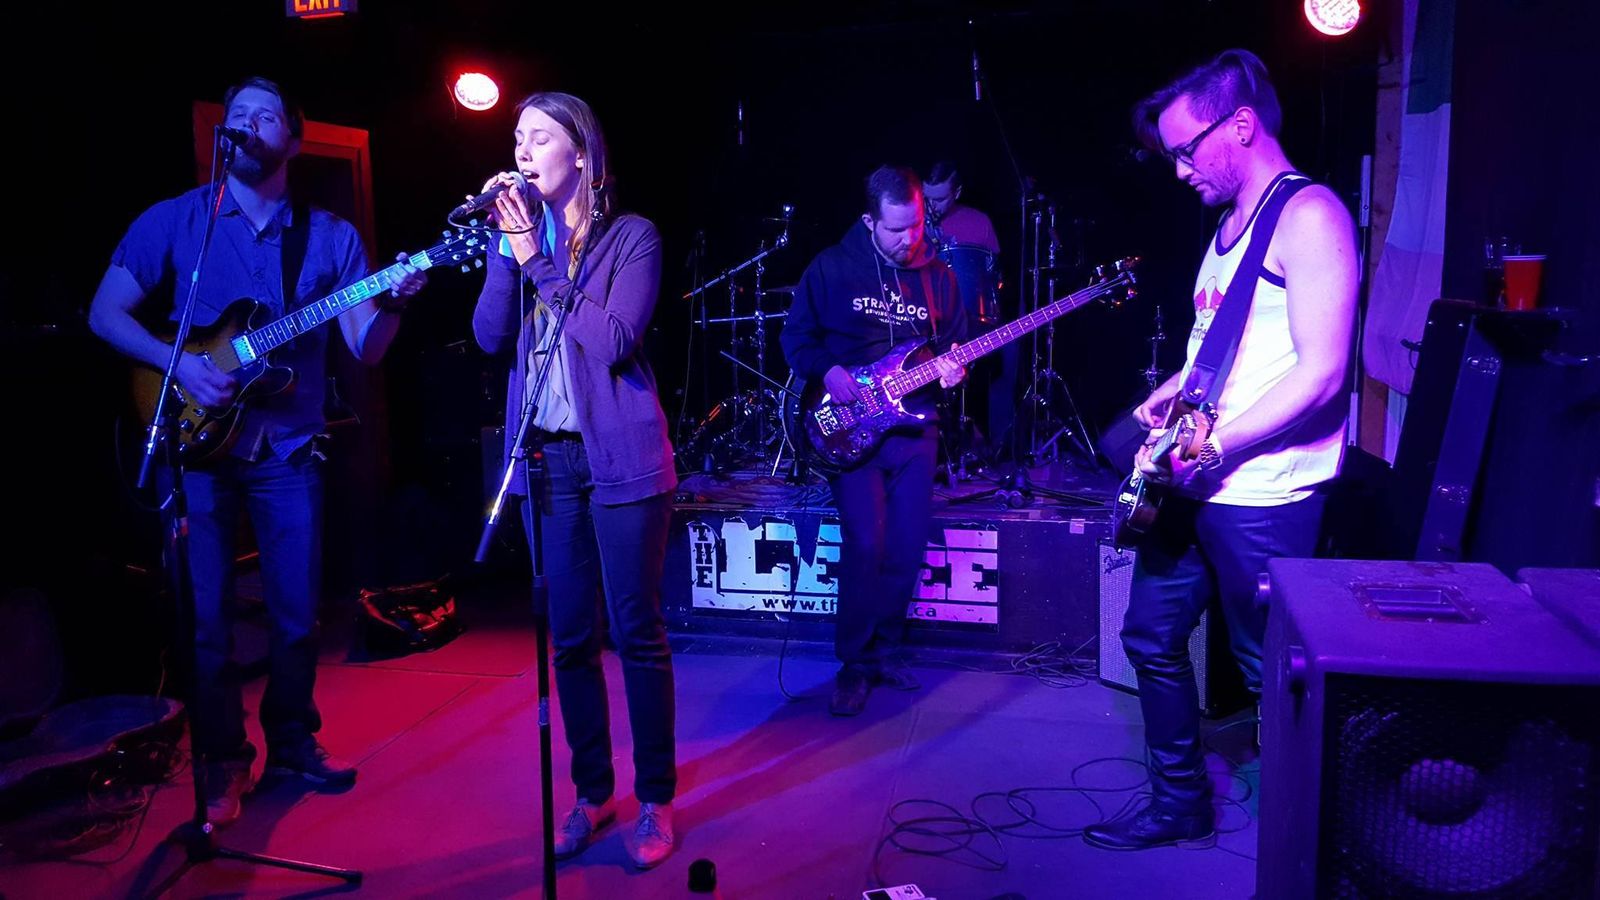
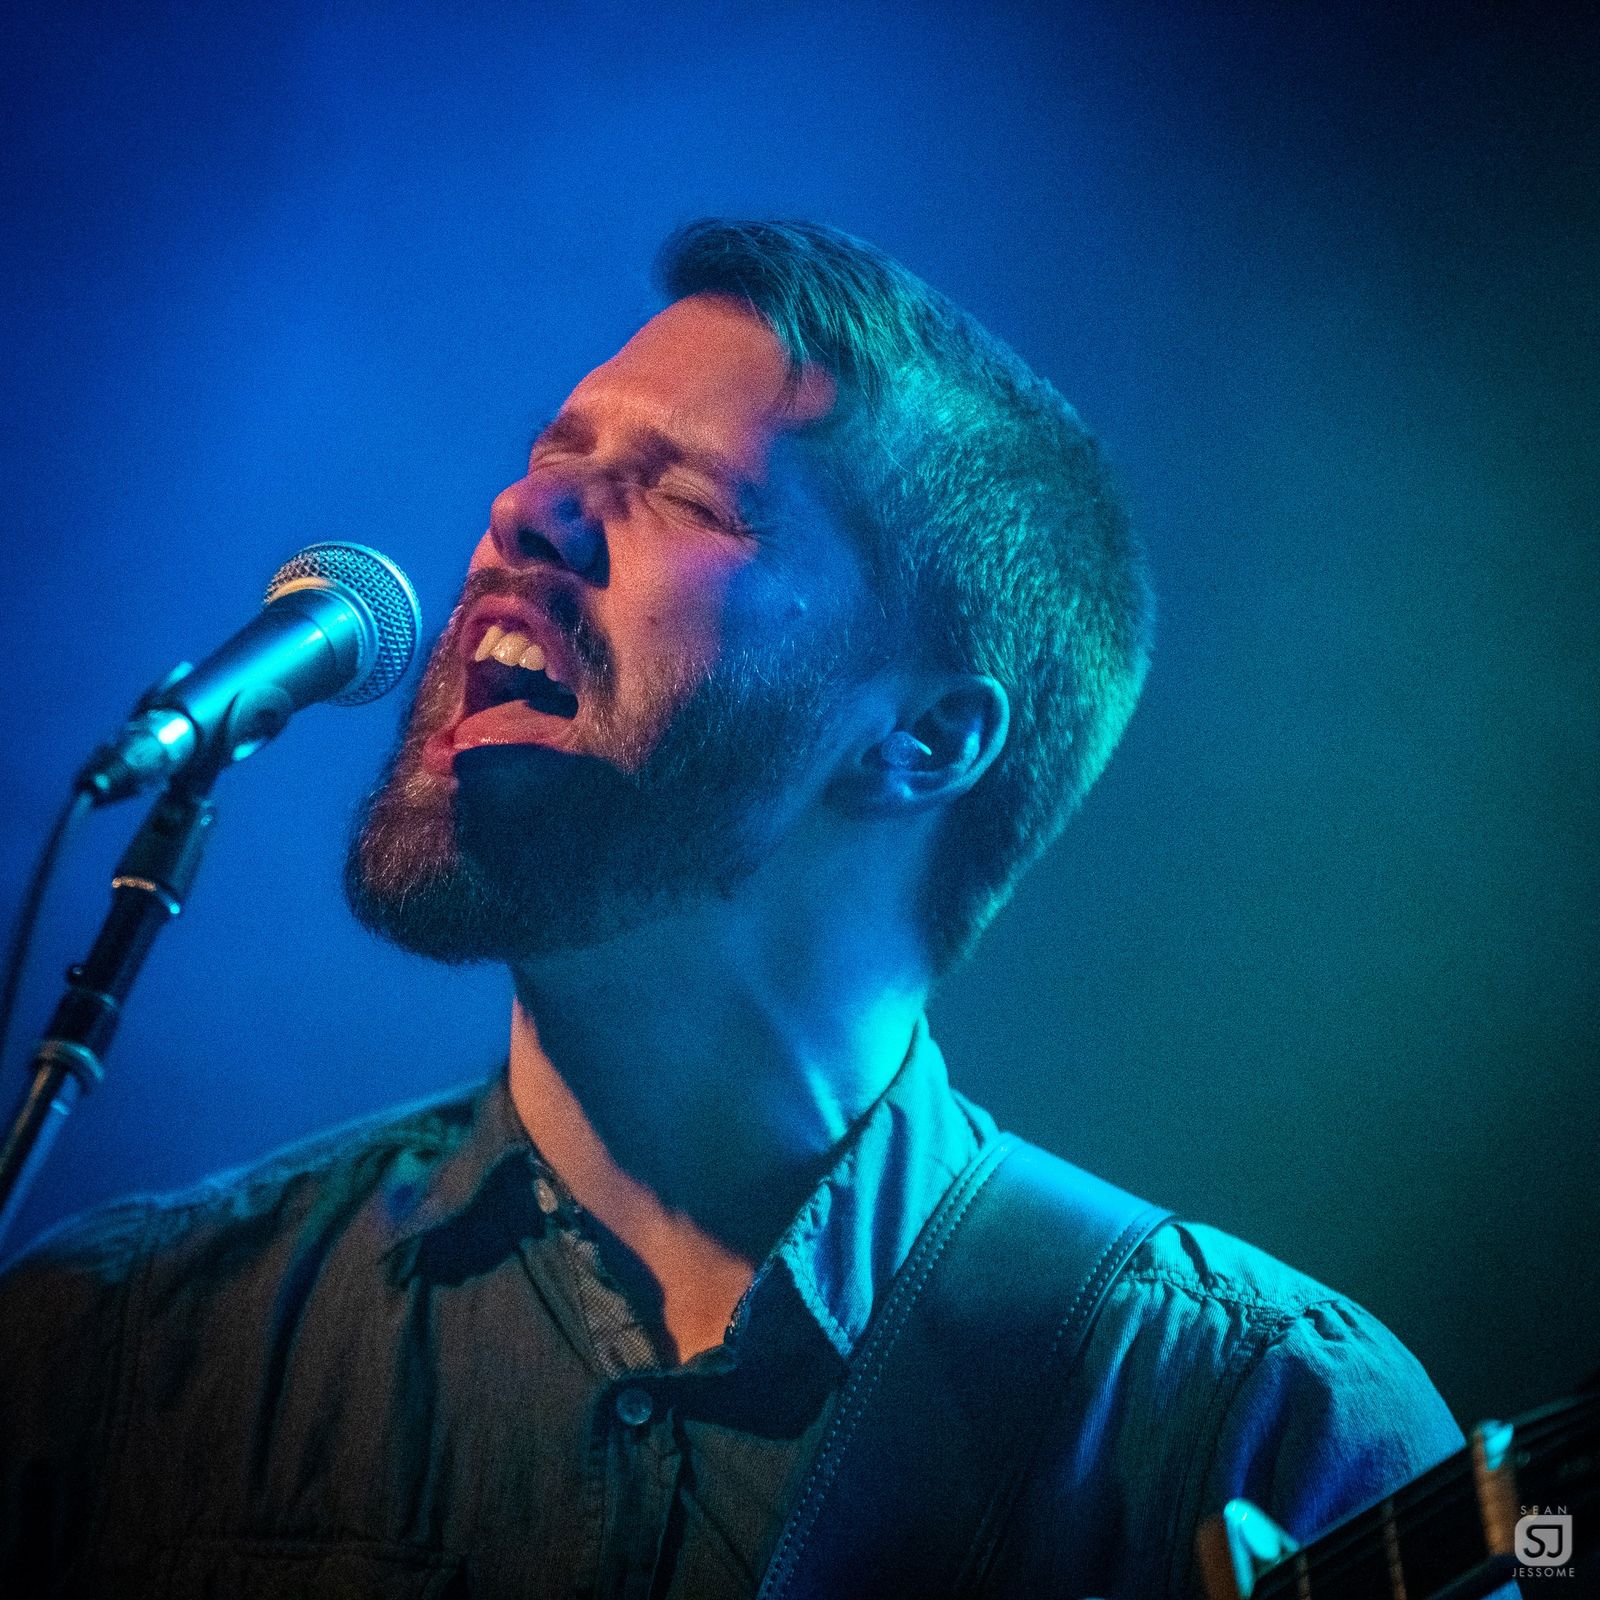
Photo Credit: Sean Jessome Photography
Share photo gallery